
Ever feel bogged down moving photos from your desktop to your phone just to get them on Instagram? You’re not the only one. While mobile still dominates, about 11% of Instagram traffic now comes from desktop or tablet browsers, and that number keeps climbing.
Not so long ago, posting from a computer wasn’t even possible. Now, you’ve got helpful options: Instagram’s web version, creator tools, and third-party apps.
Whether you like editing on a big screen, managing multiple accounts in one place, or the speed of typing on a full keyboard, desktop posting has plenty of perks.
This guide covers proven ways to post from your computer, and shares tips to make the process effortless. By the end, you’ll know which method works best for your workflow.
Why Post on Instagram from Your PC?

Instagram posting from your computer can revolutionize how you create and manage your content. Here’s why you need to make your PC your go-to device for Instagram.
Enhanced Productivity Benefits
Your computer screen is larger than your phone. You have more space to work on your content and can edit images more effectively with a better view of the details.
Typing on a keyboard is faster than using your phone. This helps when writing long captions; you can also research hashtags more easily on your computer.
Your computer enables you to multitask, as you can edit images as you scroll through your messages. You can be researching content ideas as you create posts.
You can organize your content better on a computer. File management is easier with folders and search functions.
Superior Content Quality
Desktop photo editing software is more powerful than phone apps. Programs like Photoshop and Lightroom offer advanced features.
Good-quality photos are more pleasant to edit on a computer. Your computer does not compress photos as much during editing.
Your computer gives you precise control over cropping and formatting; you can ensure your content fits Instagram’s requirements perfectly. This leads to better-looking posts.
Professional Content Management
You can prepare several posts beforehand using your computer; the batch creation process conserves time and effort.
Teams can work together more easily on desktop platforms, as multiple people can access and edit content, and you can set up approval processes for brand accounts.
Brand consistency is easier to maintain on a computer. You can use templates and style guides.
Analytics and performance tracking integrate better with desktop tools. You can see detailed reports and metrics.
Filter selection is limited compared to the mobile app. Create your desired look using photo editing software. Then upload the finished image to Instagram.
Instagram Reels cannot be created from the web browser. You’ll need to use other methods for Reels content. This limitation may change in future updates.
IGTV uploads have some restrictions on the web version. Longer videos and advanced features work better through other methods. Creator Studio offers better IGTV management.
Top Methods and Tools to Post on Instagram from Your PC?
Method 1: Using Instagram Web Browser (Official Method)

You can also upload from any other big web browser by visiting Instagram.com and entering your log-in information.
The desktop version of the app is different from the app on your phone, but you can upload using the “+” button at the top of the screen.
It is less exhausting to type captions using a complete keyboard, and hashtags, location tagging, and tagging users are also available like the app. You may edit tags and captions after you post but not photos. You may also reply to comments and see messages on the browser.
Key points:
- Upload posts via “+” icon with basic editing tools
- Caption limit 2,200 characters; hashtags, location, and user tagging supported
- Messaging and comment replies available
- No Reels or full IGTV support on the web
Method 2: Browser Developer Tools Technique
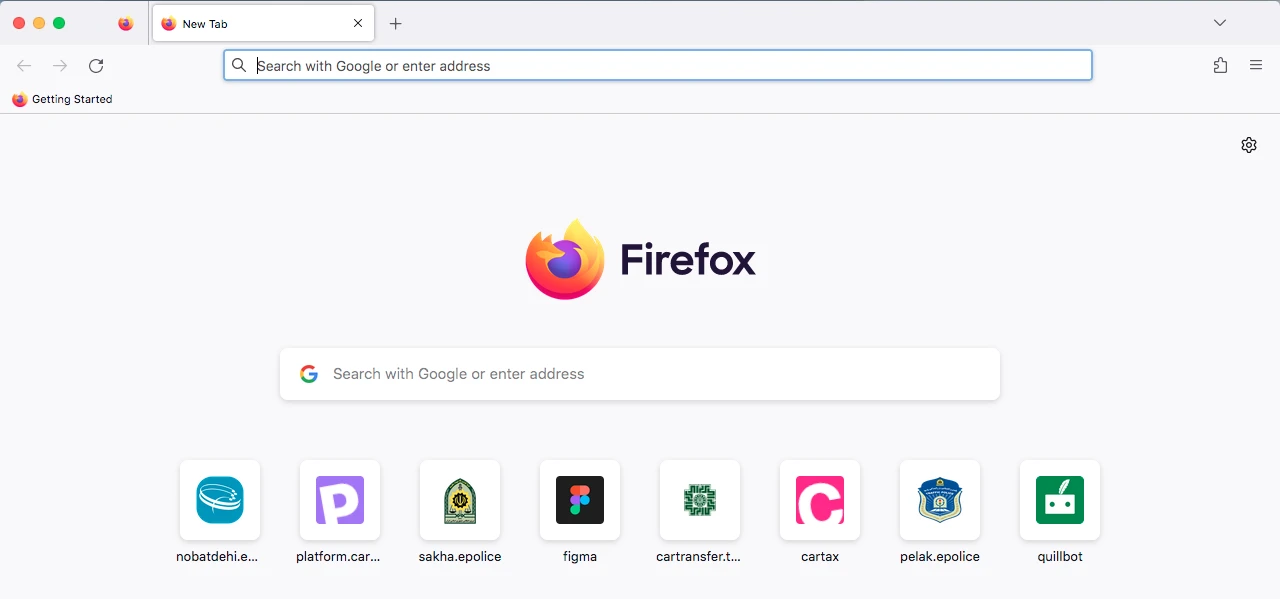
Using developer tools in browsers like Chrome or Firefox lets you simulate a mobile device. This tricks Instagram into showing the mobile interface on your desktop. You access developer tools with shortcuts (like F12), enable device emulation, and refresh the page.
This method unlocks mobile-only features such as Stories creation and mobile-style posting. Each browser has a similar way to do this. Sometimes features don’t load perfectly, so refreshing or disabling extensions might help.
Key points:
- Use developer tools to enable mobile Instagram on desktop
- Access Stories and mobile posting features not in desktop mode
- Device emulation steps vary but are similar across browsers
Method 3: Third-Party Social Media Management Tools

Third-party applications like Hootsuite, Buffer, Later, and Sprout Social help you schedule Instagram posts from your computer better.
The majority of these tools also have collaboration features, including teams getting their posts approved, approved, and scheduled. The tools also provide detailed performance reports such as engagement rates, follower gain, and best posting times.
But certain features, like posting Stories or Reels, may be locked or require sending a notification to your phone for completing publishing.
Key benefits:
- Schedule your posts and plan your Instagram content calendar
- Manage multiple accounts and teams efficiently
- View detailed analytics and reports to inform your strategy
- Collaborate with others through approval workflows
Method 4: Desktop Applications and Software
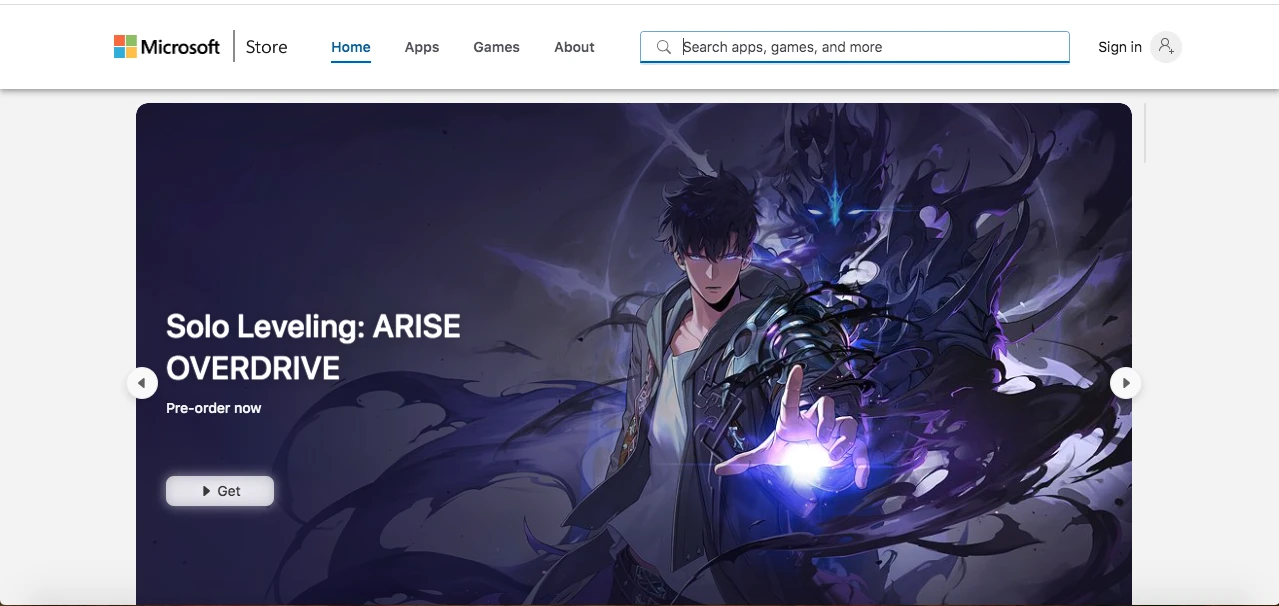
Instagram has an official Windows app available from the Microsoft Store. It lets you browse, post, message, and sync accounts between devices. It works on Windows 10 and 11 and updates automatically.
Only download apps from official stores to stay secure. Use Instagram’s login system and enable two-factor authentication. Performance depends on your computer, so close other apps if it runs slow. Alternative desktop apps with similar features also exist.
Key points:
- Official Windows app supports core Instagram features
- Download only from official sources; enable two-factor authentication
- Close other apps to improve performance
- Alternative apps available if needed
Method 5: Mobile Device Emulators

Android emulators like BlueStacks, NoxPlayer, and MEmu let you run the Instagram mobile app on your PC. Install Instagram through the Play Store inside the emulator. For good performance, allocate at least 4GB of RAM and a couple of CPU cores.
NoxPlayer supports running multiple Instagram accounts at once. iOS emulators mostly only simulate the iOS look but don’t run Instagram apps fully. Browser-based iOS simulators are limited and usually impractical.
To optimize, enable hardware acceleration and keep Google Play Services updated. Only download emulators from official sites. Use strong passwords and two-factor authentication to keep your account safe.
Key points:
- Android emulators run full Instagram app on PC
- Allocate 4GB+ RAM and enable hardware acceleration for best use
- iOS emulators mostly limited to interface simulation
- Download emulators from official sources only
How to Post on Instagram from PC and MacBook?
Step 1- Open Instagram in your browser (Safari/Chrome), then go to instagram.com and log in to your account.
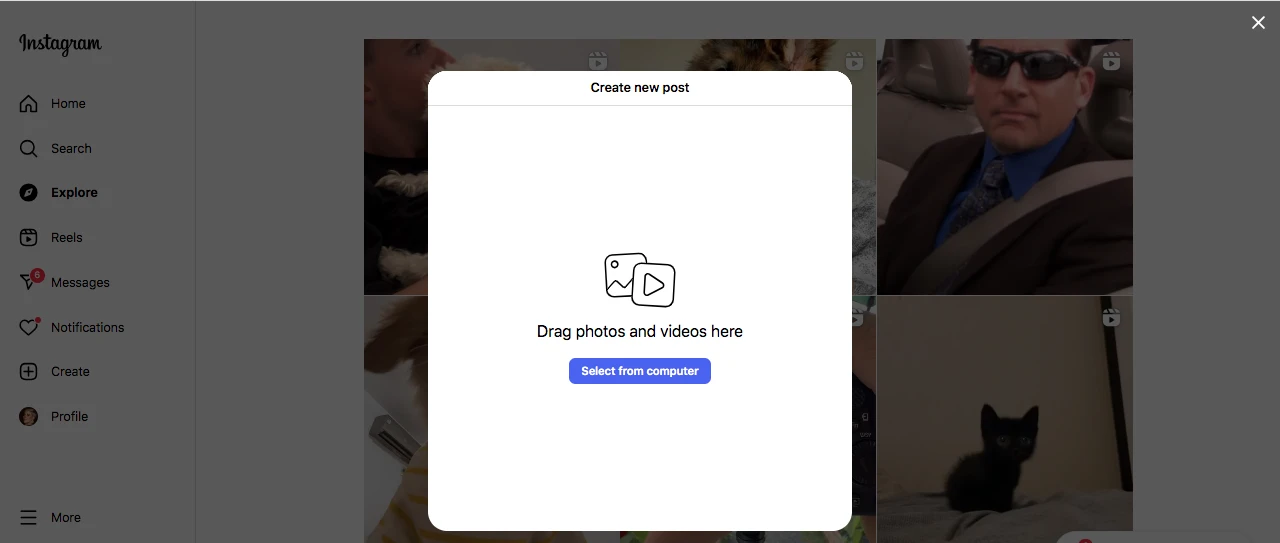
Step 2- Click the “+” Create button. It’s at the top right of the homepage.

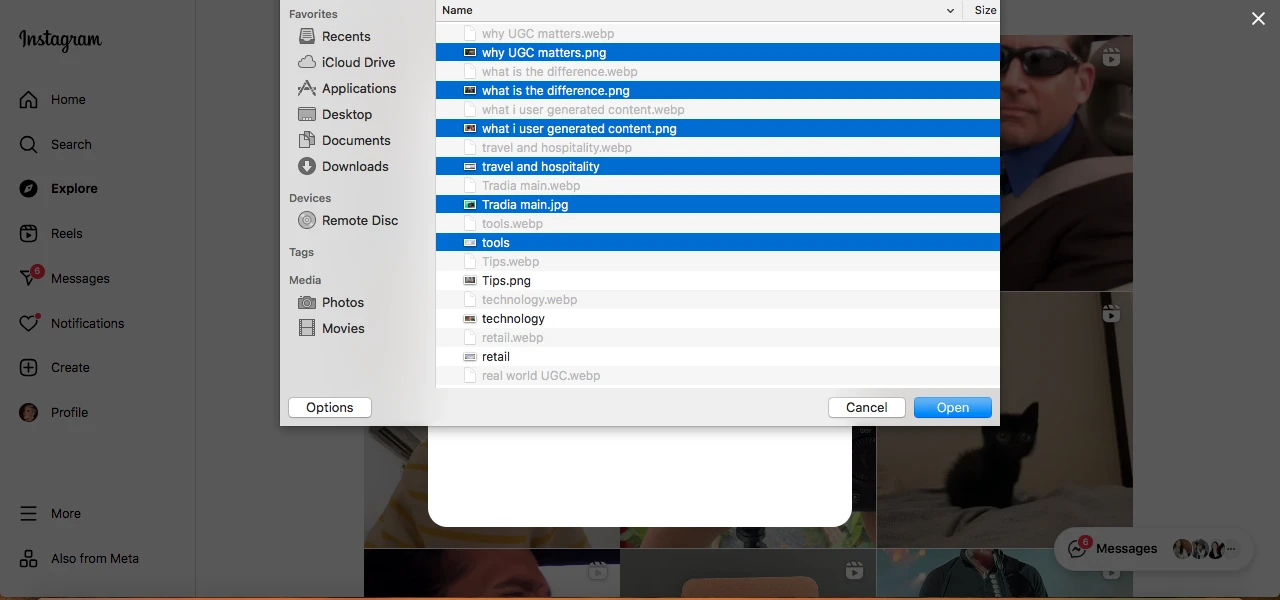
Step 3- Upload your content. Select photos (JPG/PNG) or videos (MP4) from your computer.
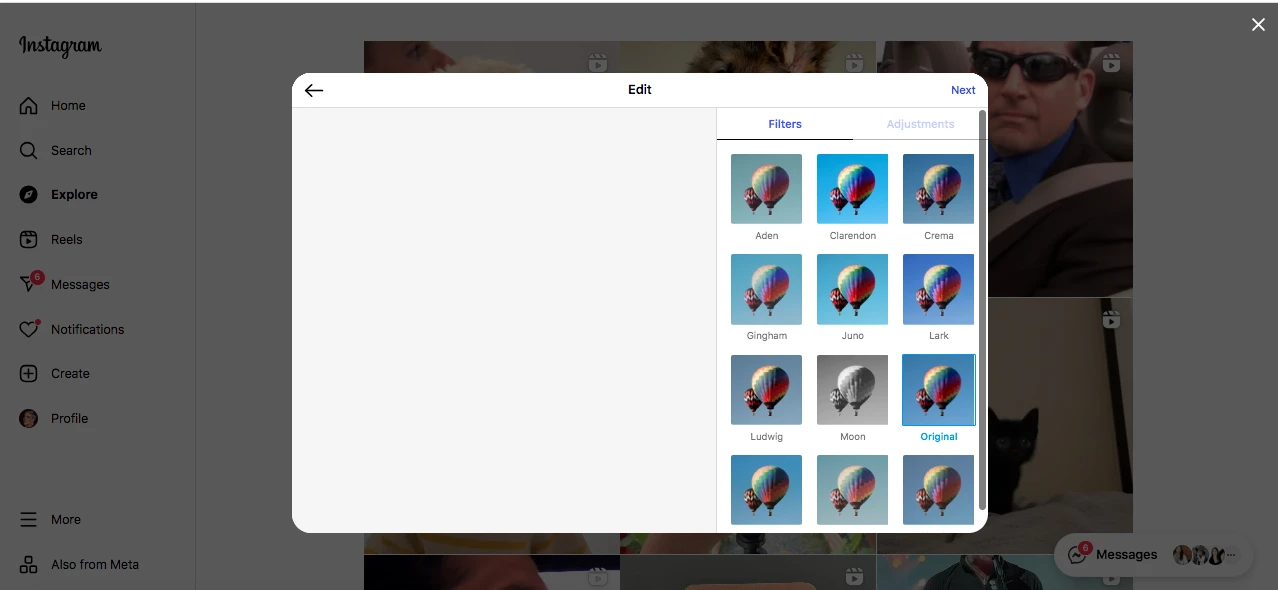
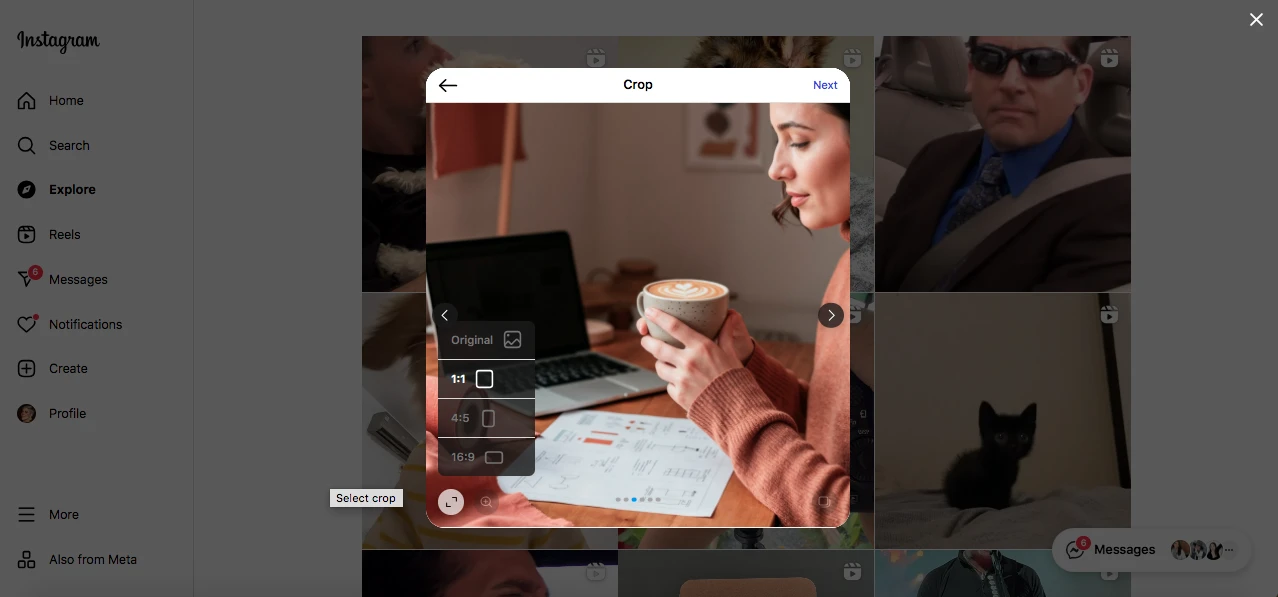
Step 4- Crop, adjust aspect ratio, and apply filters as needed.
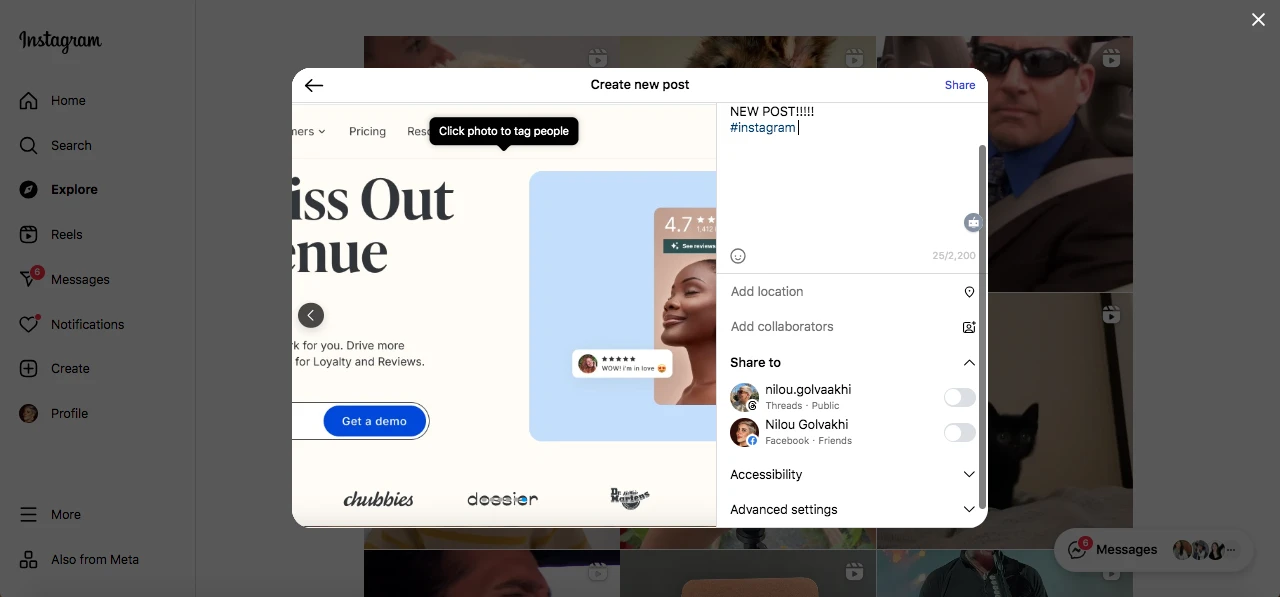
Step 5- Type your caption, tag people, add hashtags, location, and alt text.
Step 6- Click Share to post, or use a scheduling tool if you want it to go live later.
Step 7- Confirm your post. Refresh your profile to make sure it appears correctly.
How to Upload Videos on Instagram from Your PC?
Step 1 – Log in to Instagram
Open instagram.com in your preferred browser and sign in to your account.
Step 2 – Start creating your post
Click the “+” Create button, located in the top-right corner of the homepage.
Step 3 – Choose your video
Upload your video from your computer, preferably in MP4 (H.264) format. Make sure it meets Instagram’s requirements, up to 60 seconds for feed posts, with longer durations allowed for Reels.
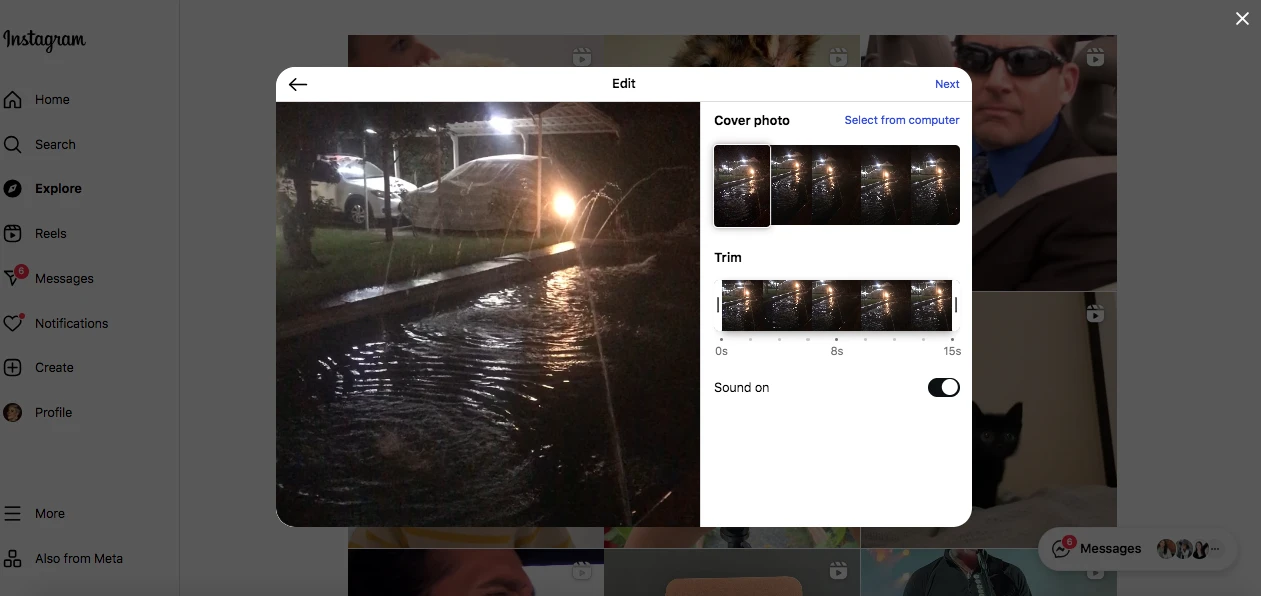
Step 4 – Edit and adjust
Trim your video, pick a cover image, and crop it to match Instagram’s aspect ratios (1:1, 4:5, or 16:9) so it looks perfect on different devices.
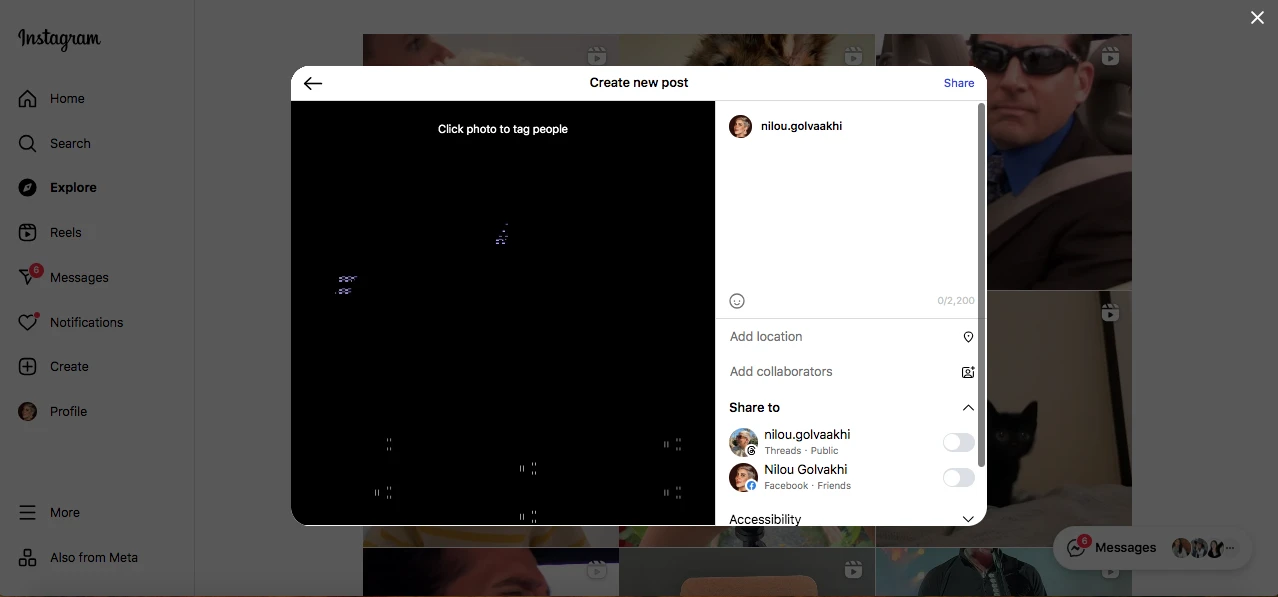
Step 5 – Add the finishing touches
Write a caption, include relevant hashtags, tag people, and add a location if it helps your audience connect with the post.
Step 6 – Publish or schedule
Click Share to post immediately, or use a trusted third-party tool to schedule it for a later time.
How to Post Reels from Your PC?
Step 1- Go to instagram.com in your browser and sign in.
Step 2- Click the “+” button in the top-right corner. (Yes! You must find and choose this button everytime!)
Step 3- Choose an MP4 file from your computer, keeping it within Instagram’s time limits.
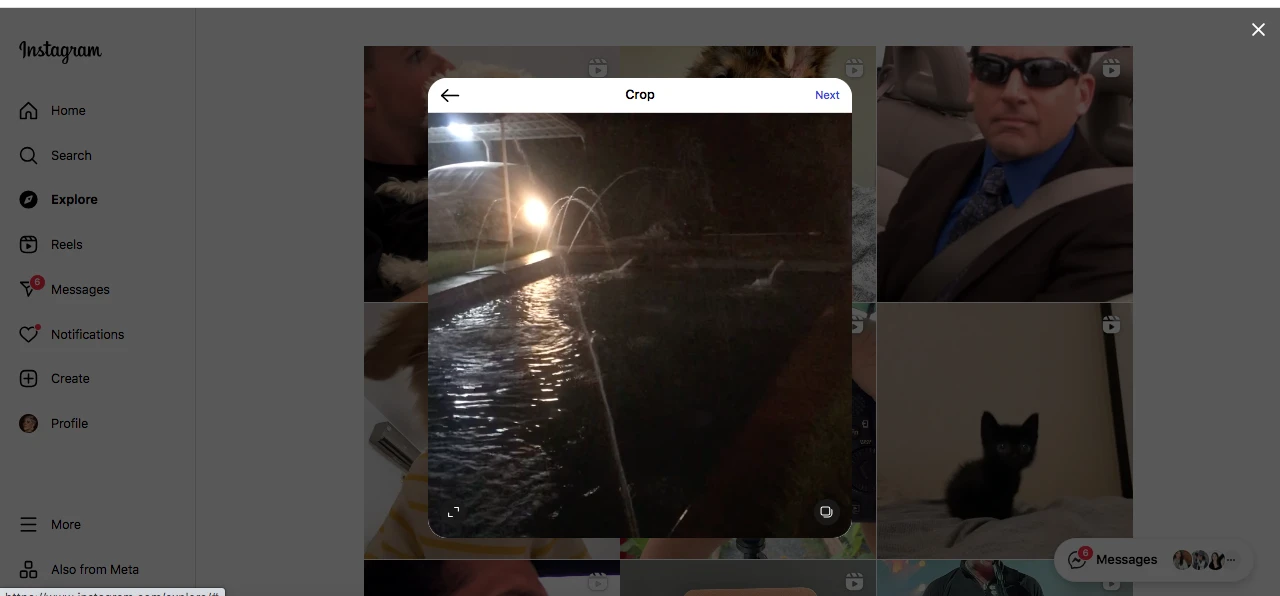
Step 4- Trim, choose a cover image, and adjust the size to fit Instagram’s aspect ratios. (Try to follow one size and ratio for all your content.)
Step 5- Write a caption, add hashtags, tag people, and include a location if you want. (Including these small factors enhances your account’s engagement).

Step 6- Post it right away or schedule it with a third-party tool.
They all have pretty similar processes, right? But if you watch closely, you may notice small differences that knowing them helps you better use Instagram on PC.
How to Share Carousel from Your PC?
Step 1- Go to instagram.com in your browser and log in to your account. (That’s what you need to do in every process.)
Step 2- Click the “+” button at the top right.
Step 3- Hold Ctrl (Windows) or Command (Mac) while clicking the files you want. (It helps you select multiple files.)
Step 4- Drag to reorder, crop each one, and apply filters or adjustments as needed. (You are free to adjust changes as you want.)
Step 5- Write a caption, include hashtags, tag accounts, and add a location if you’d like. (You can also use extra features that Instagram offers, such as polls, try them! They’ll work!)
Step 6- Click Share to publish your carousel post.
As of now, you can select up to 20 images or videos to share as a carousel post on Instagram. It’s one of the best ways for creators or influencers to share their moments with their followers.
I assure you that people will check all those 20 pictures!
How to Post an Instagram Story from Your PC?
Step 1- Visit instagram.com in your browser and log in to your account. (You can save your login info to save more time.)
Step 2- Click your profile picture in the Stories row at the top of the homepage. (You’ll find it exactly where it is on the mobile app.)
Step 3- Choose a photo or video from your computer (JPEG, PNG, or MP4 formats work best). (Make sure it has high quality.)
Step 4- Add text, stickers, or drawings to make it engaging. (Yes! You can use all the available features on the app version.)
Step 6- Click Add to Your Story and it’s live.
Troubleshooting and Problem Resolution

Troubleshooting common Instagram upload and account issues on your PC can save you time and ensure a smoother posting experience.
Common Upload Issues
File format incompatibility problems typically occur when supported formats are not utilized. Instagram is optimized for JPEGs for pictures and MP4s for video. If you are experiencing upload issues, reconvert your files to these.
Size and resolution error messages occur when files are either too small or too big. Instagram has specific requirements for file sizes and dimensions. Check these specifications before uploading your media.
Browser compatibility issues affect some users who have old browsers. Keep your browser current with the latest version. Try using other browsers if you still experience problems.
Quality and Technical Problems
Image compression and quality loss can occur during upload. Start with high-quality images to minimize this issue. Instagram’s compression affects all uploaded content to some degree.
Video playback issues may result from encoding problems. Use widely compatible video formats and codecs. H.264 encoding works best for Instagram video content.
Color profile inconsistencies can make your content look different after upload. Use standard color profiles like sRGB for consistent results across devices.
Aspect ratio cropping problems occur when your content doesn’t match Instagram’s preferred dimensions. Prepare your content in the correct aspect ratios to avoid unwanted cropping.
Font and text rendering issues can affect graphics with text. Use web-safe fonts and ensure text is large enough to read on mobile devices.
Account Security and Access Issues
- Two-factor authentication setup adds security but can cause access problems. Keep backup codes in a safe place. Have multiple authentication methods available.
- Suspicious activity warnings may occur when accessing Instagram from new devices or locations. Verify your identity through Instagram’s security processes when prompted.
- Third-party app permission management requires regular review. Remove access for apps you no longer use. Only grant permissions to trusted applications.
- Password reset and recovery processes help regain account access. Use Instagram’s official recovery methods. Keep your contact information updated for easier recovery.
- Account verification problems can prevent access to business features. Complete Instagram’s verification process for business accounts. This unlocks additional functionality and credibility.
Platform-Specific Limitations
Instagram API rate limiting affects how often you can post through third-party tools. This prevents spam but can limit legitimate use. Spread your posting throughout the day to avoid limits.
Feature availability differences exist between posting methods. Some features only work on mobile while others work better on desktop. Choose your posting method based on the needed functionality.
Update compatibility issues can break existing workflows. Keep your tools and apps updated but be prepared for temporary disruptions during major updates.
Regional restriction workarounds may be necessary in some countries. VPN services can help access Instagram features that aren’t available in your location.
Business versus Personal account feature differences affect available functionality. Business accounts get more features but may have additional restrictions. Choose the account type that matches your needs.
Performance Optimization
Browser cache and cookie management improves performance and fixes loading issues. Clear your browser cache regularly, especially if you experience problems.
Internet speed optimization helps with large file uploads. Close unnecessary programs and browser tabs during uploads. Use wired connections when possible for better stability.
Computer performance optimization ensures smooth operation of Instagram tools. Close unused applications and restart your computer regularly. Keep your system updated and maintained.
Memory and storage management prevents crashes and slow performance. Ensure you have enough free disk space and RAM for your Instagram tools.
Network troubleshooting helps identify connection problems. Test different networks if you have persistent issues. Contact your internet provider if problems continue.
Advanced Instagram PC Strategies

- Use desktop tools (Photoshop, Canva, Figma) for higher-quality visuals.
- Batch-create and organize content to save time.
- Maintain version control, branded templates, and consistent colors.
- Follow Instagram’s optimal image/video sizes and formats.
- Use advanced editing and compression to balance quality and file size.
- Schedule content using an editorial calendar and 3–5 key content pillars.
- Repurpose content for other platforms and adapt to trends.
- Study and track hashtags; use mixed, niche, and branded tags.
- Monitor analytics, apply A/B testing, and focus on meaningful engagement.
- Streamline teamwork with clear guidelines, approval processes, and asset sharing.
Conclusion
Posting on Instagram from your PC has become simpler and more efficient than ever, thanks to Instagram’s web features, browser developer tools, third-party apps, and desktop software.
Whether you’re a content creator, marketer, or casual user, leveraging these methods can boost your productivity, improve content quality, and streamline your workflow.
By choosing the right tools and following best practices for file formats, sizing, and scheduling, you’ll maximize your Instagram presence without relying solely on your phone.
Start experimenting with these options today and take full control of your Instagram content creation and management from your computer.
FAQs
How to post on Instagram step by step?
Log in → Click “+” → Upload content → Edit/crop → Add caption, tags, location → Click Share.
How do I post to Instagram from a desktop computer?
Log in to Instagram.com, click the “+” button at the top, upload your photo or video, add captions and tags, then click Share.
How to post to Instagram from desktop 2025?
Use Instagram’s web platform or official Windows app, upload via the “+” icon, and consider third-party tools for scheduling and advanced features.
How to post an Instagram story from a laptop PC using the easy method?
On Instagram.com, click your profile picture in the Stories section, upload your photo or video, add stickers or text, then click Add to Your Story.
